In the last part of this series, we experienced how to create a new wordpress blog instance in Azure App Service. In this part we will learn, how to configure your wordpress instance for publishing.
Now that we have WordPress instance deployed in Azure App Service, lets expore the app service instance a bit.
Step 1: Go to “All Resources” and select “mywordpress-blog” app

Step 2: Copy URL and open in another browser window

Step 3: WordPress Configuration will automatically kick-in. Select your desired language, in my case it would be ‘English’ and click on Continue.

Step 4: Specify your blog name, initial admin username, password, email etc.
Click on [Install WordPress]

Step 5: Congragulations!, Your installation is successful and you will be greeted with Success message. Now it is your time to get started with your blog.

You can simply login to <your_wordpress_website_url>/wp-admin, with the admin login and start creating your content.
If you are a beginner and need additional help in using wordpress, please visit – Official WordPress-Configuration Help
Related Posts
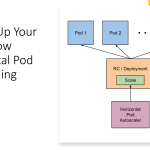 Scaling Up Your Pods: How Horizontal Pod Autoscaling Wins
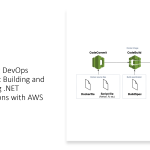 Achieving DevOps Harmony: Building and Deploying .NET Applications with AWS Services
 Mastering AWS EKS Deployment with Terraform: A Comprehensive Guide
 Introduction to Site Reliability Engineering (SRE) in Azure: Achieving Higher Reliability with AKS and Essential Tools
- Mastering AWS, EKS, Python, Kubernetes, and Terraform for Monitoring and Observability for SRE: Unveiling the Secrets of Cloud Infrastructure Optimization
- Mastering DevSecOps: Key Metrics and Strategies for Success